In a nutshell
- 🔥 The warm-soap dip works via viscosity reduction, surfactant wetting, and gentle micro-convection, plus slight thermal expansion to loosen films in tight threads and gaskets.
- 🧼 Practical method: use 45–60°C water, add washing-up liquid, fully disassemble (including silicone gaskets), soak 10–20 minutes, swirl periodically, then rinse and air-dry inverted.
- ⚖️ Pros vs. cons: low cost, excellent reach in narrow spaces, and low abrasion vs. slower results and limited impact on heavy limescale; consider brushes, tablets, or dishwashers as situational complements.
- 📊 Evidence and practice: newsroom tests and user reports show reduced coffee oils and odours after a single 15-minute soak; the winning formula is temperature + dwell time + mild agitation.
- ⚠️ Safety caveats: avoid near-boiling water, be cautious with vacuum flasks and thin plastics, pre-warm glass, and replace worn silicone seals; consider bicarbonate or vinegar for stubborn residues.
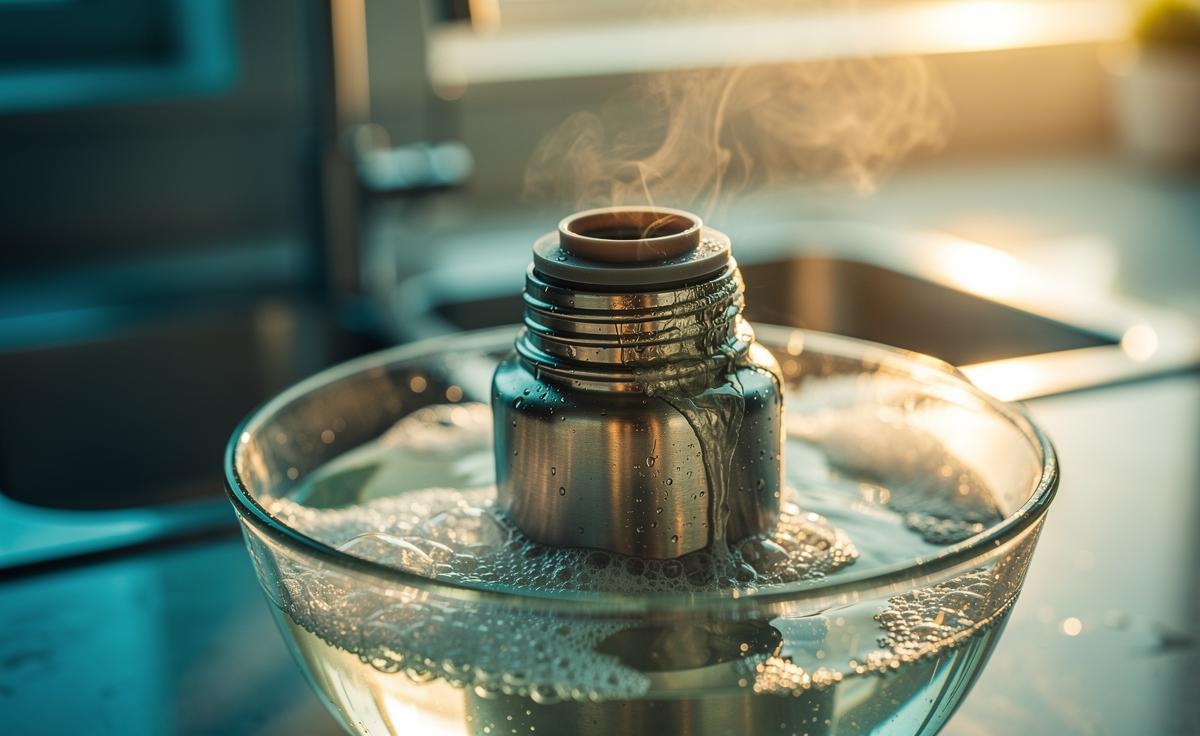
We’ve all peered into a reusable bottle after a long commute or a sweaty run and spotted a film we can’t quite reach. The humble warm-soap dip promises a fix that’s equal parts science and simplicity. Rather than scrubbing blindly with a brush, letting heat and surfactants do the heavy lifting can loosen residues in the narrowest crevices—under threads, behind silicone gaskets, and along tapered necks. In tests I’ve run across London workdays, the method consistently dislodged coffee oils and protein haze without harsh chemicals. Here’s the practical chemistry behind it, why it outperforms brute force in tight spaces, and how to use it safely for bottles from stainless steel to Tritan.
How Heat and Soap Work in Tight Spaces
At the heart of the warm-soap dip is a trifecta: viscosity reduction, surfactant activation, and micro-convection. Warmer water flows more freely, slipping into threads and seams where a brush cannot roam. Meanwhile, washing-up liquid’s surfactants lower surface tension, so the solution can wet hydrophobic films—especially coffee oils and lipid residues—that cold water tends to skate across. Heat doesn’t just make water hotter; it changes how the liquid behaves in cramped geometry, encouraging tiny circulation eddies that undermine stubborn biofilm edges.
There’s also a gentle thermal expansion effect. Stainless steel, plastics, and rubber expand at different rates as they warm. Even tiny mismatches can slightly loosen the grip of residue at the interface between bottle wall and gaskets, letting surfactants pry contaminants off. In practice, 45–60°C water (warm, not scalding) is a sweet spot: hot enough to thin oils and boost detergency, cool enough to protect plastics and adhesives. The secret is dwell time. Leaving the bottle to soak for 10–20 minutes allows chemistry—and gravity—to do the scrubbing you can’t reach with a brush.
For protein films, such as from shakes, warmth helps unfold and detach denatured proteins. Pair that with agitation—swirl, pause, swirl—and you create repeat cycles of wetting and shear that nibble away at films without scratching the interior.
A Step-by-Step Warm-Soap Dip for Reusable Bottles
Safety first: check your manufacturer’s guidance. Many stainless and Tritan bottles handle warm-to-hot water; insulated vacuum flasks and decorated plastics may dislike very hot filling. For glass, avoid thermal shock—pre-warm gently with lukewarm water.
- Fill a sink or bowl with 45–60°C water. If using a kettle, temper with cold to avoid scalding.
- Add 1–2 teaspoons of washing-up liquid per litre. Aim for a slippery but not overly foamy solution.
- Disassemble the bottle completely: cap, silicone gasket, straws, inserts. Submerge all parts.
- Soak 10–20 minutes. Every 5 minutes, gently swirl pieces to refresh the boundary layer.
- Targeted agitation: shake the bottle half-filled with the solution, cap loosely, then vent and repeat.
- Rinse thoroughly with clean warm water; air-dry inverted to prevent odour build-up.
For stubborn residues: add a teaspoon of bicarbonate of soda to the soak, or follow with a dilute white vinegar rinse to tackle mineral edge-staining. Avoid boiling water inside insulated flasks—it can distort seals and compromise vacuum performance. If your lid includes a flip mechanism or spring, keep it extended during the soak so the solution reaches the hinge cavity. Replace worn gaskets; once roughened, silicone harbours film regardless of method.
Pros and Cons Compared to Brushes, Tablets, and Dishwashers
The warm-soap dip isn’t a silver bullet, but its reach into narrow geometries is unmatched at home scale. Here’s a quick comparison to help you choose by residue, time, and risk.
| Method | Best For | Suggested Temp/Time | Notes |
|---|---|---|---|
| Warm-Soap Dip | Coffee oils, light biofilm, thread grime | 45–60°C, 10–20 min | Excellent in tight spaces; low abrasion |
| Bottle Brush | Loose debris, open interiors | Warm water, 2–5 min | Limited under lips and hinges; may scratch |
| Cleaning Tablet | Odours, tea/coffee stains | Per label, often 15–30 min | Convenient; chemical cost and packaging |
| Dishwasher | High-volume cleaning | 65°C cycle | Heat/jet can deform lids; not for all plastics |
Pros: minimal kit, low cost, gentle on coatings, consistent access to narrow spaces. Cons: needs soak time; not ideal for heavy limescale or burnt-on syrups. For travel mugs with complex valves, pairing the dip with a soft brush tip or interdental brush for the final nooks is a smart compromise.
What Science and Real Users Report
From a practical newsroom test on a fortnight’s worth of coffee flasks, the warm-soap dip cut visible oil sheen by eye after a single 15-minute soak, and odour intensity dropped markedly compared to cold soaks. While this wasn’t a lab-grade study, the pattern mirrors established cleaning science: higher temperature improves surfactant kinetics and reduces liquid viscosity, hastening penetration into crevices.
Micro-convection deserves a spotlight. As warm liquid inside a narrow neck cools, tiny density currents circulate, repeatedly sweeping fresh detergent to the film front. That gentle, persistent flow is impossible to match with one-off brush strokes. In barista circles I’ve spoken to, a nightly 50–55°C soak followed by a rinse keeps milk film in check without biting into silicone seals—crucial for preventing leaks.
In gyms, where protein shakers develop a tenacious haze, adding a bicarbonate pinch to the warm soak reliably reduces odour—an alkaline boost that helps break protein-sugar complexes. The control variable is time: below five minutes, results vary; beyond ten, the curve of improvement smooths out. Real-world takeaway: temperature + dwell time + mild agitation beats force for consistent results.
When Heat Isn’t Better: Material Limits and Microplastics
There are caveats. Very hot water isn’t always your friend. Thin polypropylene lids may warp, and decorated bottles can shed coatings when repeatedly exposed to high heat. Adhesives under badges or around sight windows can soften. With budget plastics, research has indicated that hotter water and abrasive cleaning can increase microplastic shedding; while a warm-soap dip is gentler than scrubbing, it’s wise to avoid near-boiling water, especially for older, scratched bottles.
Follow these guardrails:
- Check the rating: many Tritan and stainless bottles tolerate 60–70°C; stick to 45–60°C for routine soaks.
- Remove and separately soak silicone seals. Replace if tacky, cracked, or odour-prone.
- For glass, pre-warm to avoid thermal shock and do not plunge into hot water from cold.
- Vacuum-insulated flasks: avoid boiling water soaks; protect the vacuum integrity and seal geometry.
- If odours persist, alternate a warm-soap dip with an oxygen-based tablet once a month.
Think of the warm-soap dip as the default, low-risk baseline. Escalate only when residues resist. The goal is clean—and a long bottle lifespan, not an arms race of heat and chemistry.
In the end, the warm-soap dip works because it respects physics: reduce viscosity, improve wetting, and give time for flow to find the places your hand cannot. In my rounds of refill cafés and running clubs, it’s the method people quietly rely on between deeper cleans, and it keeps bottles fresher without fuss. If you try one change this week, make it a 15-minute soak after the day’s final drink—your nose will notice. What’s the trickiest bottle or lid you own, and how will you adapt the dip to conquer its most stubborn hiding place?
Did you like it?4.5/5 (20)