In a nutshell
- 🔧 Adopt the dry-and-breathe routine immediately after shopping: pat produce dry, use towel-lined, vented containers, and store in the crisper for controlled humidity—a 30‑second step that prevents condensation and mould.
- 💧 Tackle the true culprits: surface moisture drives microbial growth, while ethylene accelerates ripening—so dry first, then manage airflow, and separate ethylene-producers (apples, bananas, avocados) from delicate greens.
- 🧊 Store smart by type: berries and greens in vented, towel-lined boxes; soft herbs jarred or loosely bagged; mushrooms in paper; tomatoes at room temperature until ripe—adjust vents over days to balance moisture and evaporation.
- ⚖️ Pros vs. Cons: Paper towel + vented box is cheap and effective; a mild vinegar rinse can help berries if thoroughly dried; vacuum bags suit roots but crush leaves; ethylene filters are optional if you already separate produce.
- 🧪 Real-world test: a two-basket trial showed towel-lined, vented storage kept raspberries firm and rocket crisp versus soggy controls—proving this is a habit, not a gadget, that any kitchen can replicate for instant shelf-life gains.
You don’t need a lab or a new fridge to keep fruit and veg perky for longer. The trick is immediate intervention: stop spoilage before it starts. Right after you unpack groceries, remove excess moisture, give produce room to breathe, and manage gas build-up. This simple routine transforms limp lettuce into a week-long performer and keeps berries from collapsing by midweek. The method is quick, cheap, and fits real life in a busy home. Act within minutes of arriving home—small steps at the start outperform frantic rescues later. Here’s how to apply the dry-and-breathe approach, why it works, and where popular hacks help—or hinder—shelf life.
The 30-Second Dry-and-Breathe Trick
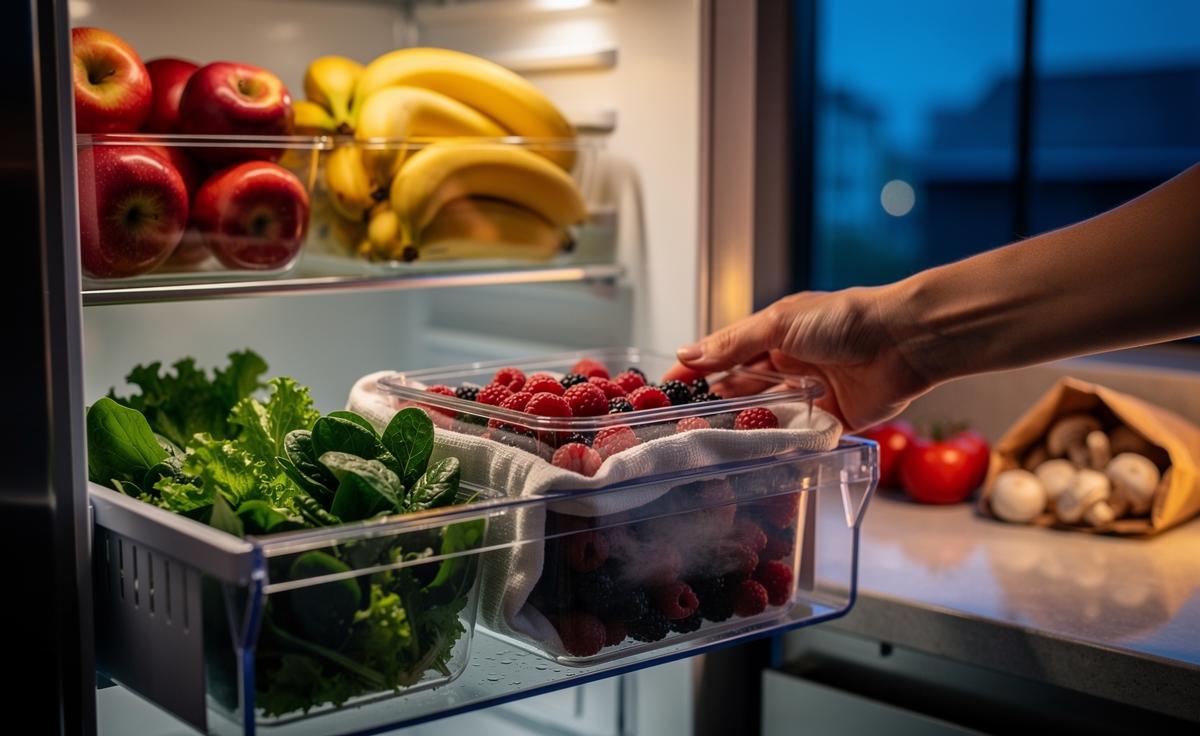
The fastest way to extend freshness is to deal with surface moisture and airflow the moment you unpack. Pat produce dry with a clean cloth or paper towel; any visible droplets become a breeding ground for mould. Line a reusable box with a dry towel, add produce in a single layer, and cap with a second towel. Close the lid but leave a slight gap, or use a vented lid for controlled humidity. Then place the box in the fridge’s crisper drawer. Do this before the produce goes into the fridge, not after it looks tired. In practice, it takes half a minute per item and prevents the condensation that accelerates decay.
For delicate items—berries, herbs, tender greens—switch from sealed to vented storage as the week progresses: start slightly more closed on day one to prevent wilting, then open a touch to reduce condensation as temperatures stabilise. Mushrooms prefer a paper bag to avoid sogginess. Tomatoes, bananas, and whole avocados stay better at room temperature until ripe. The aim is to balance moisture retention with evaporation so leaves don’t wilt, but surfaces stay dry. This small choreography yields immediate gains: crisper texture, brighter flavour, fewer fuzzy surprises by Friday.
| Produce | Quick Step | Where to Store | Notes |
|---|---|---|---|
| Berries | Pat dry, line box, vent lid | Fridge crisper | Optional mild vinegar rinse; rinse again before eating |
| Leafy Greens | Dry thoroughly, towel sandwich | Fridge crisper | Open vent slightly after day two |
| Herbs (soft) | Dry, jar with a damp-not-wet towel | Fridge door | Or stand stems in water, bag loosely |
| Mushrooms | Paper bag only | Fridge shelf | Avoid plastic; prevents sliminess |
| Tomatoes | Keep whole and dry | Room temp | Chill only when fully ripe |
Why Moisture and Ethylene Are Your Real Enemies
Most produce spoils along two tracks: water and gas. Water on surfaces encourages microbial growth, leading to mould and slime. Inside sealed containers, cooling causes condensation, wetting leaves and bruised patches where decay can take hold. That’s why the dry-and-breathe routine is so effective—it targets the immediate conditions that microbes love. Dry first; then manage humidity. A reusable towel lining acts like a sponge, intercepting droplets while keeping local humidity high enough to prevent wilting. Venting stops the “rainforest effect” that builds in airtight tubs.
Separately, some fruit emits ethylene, a ripening hormone. Apples, bananas, and avocados accelerate the ageing of nearby greens and berries. Keep ethylene-producers apart from ethylene-sensitive items like lettuce and cucumbers. When in doubt, divide your fridge drawer: left for greens, right for fruit, or use small boxes as “gas borders.” A mild pre-storage rinse for berries with diluted vinegar can reduce surface microbes—but always dry carefully and rinse again before eating. Segregation plus dryness beats single-use gimmicks nearly every time.
Pros vs. Cons of Popular Storage Hacks
Reusable towels and vented boxes are the workhorses: low-cost, low-effort, and they tackle both moisture and airflow. The old advice to “never wash until you eat” is broadly sound for many items, but a carefully controlled pre-rinse and thorough dry can benefit fragile fruit. Purpose-made produce bags are helpful if they balance breathability and humidity; fully sealed plastic tends to trap moisture. Avoid methods that promise miracles but ignore physics—moisture and gas must be managed.
What about specialist add-ons? Ethylene-absorbing sachets can help if you routinely store fruit and greens together, but they’re not a substitute for separation. Vacuum sealing extends life for hardy veg but can crush leaves and reduce flavour in tomatoes. Paper bags keep mushrooms firm; paper towels in boxes keep greens crisp; glass or rigid plastic protects from bruising. Consider your routine: if you prep once on Sunday, towels and vented tubs shine; if you shop little-and-often, simple separation and quick drying may be all you need.
- Paper towel + vented box: Pro—cheap, instant; Con—towels need washing or replacing.
- Mild vinegar berry rinse: Pro—cuts microbes; Con—requires careful re-rinsing and drying.
- Vacuum bags: Pro—great for roots; Con—poor for leafy greens.
- Ethylene filters: Pro—buffer in mixed drawers; Con—adds cost, less useful if you already separate.
A Quick Kitchen Trial You Can Repeat
In my London flat, I ran a simple two-basket test with raspberries, rocket, and spring onions after a midweek shop. Set A: left in supermarket punnets, unmodified. Set B: patted dry, placed in towel-lined boxes with vented lids, and separated by type. By day three, Set A raspberries showed visible mould and watery collapse; Set B remained firm and bright. Rocket in Set A sagged into a slick heap; Set B still snapped. Spring onions kept their bite longer when dried and boxed upright with a towel at the base to wick drips. The only “tech” was a clean cloth and a cracked lid.
You can replicate this in a weekend: split each item into two containers, one “as bought,” one “dry-and-breathe,” and check daily. Note texture, aroma, and colour. The result is usually unambiguous and immediate: better crunch, slower browning, and far fewer bin-bound boxes. Crucially, it’s adaptable—greens like a slightly tighter lid initially, berries a touch looser after day one, and mushrooms skip plastic altogether. This is a habit, not a gadget, and habits scale effortlessly from a student fridge to a family kitchen.
The fastest freshness boost doesn’t come from expensive kits—it comes from removing wetness, giving produce breathing space, and keeping gas-spewers away from delicate greens. Once you see the difference, it’s hard to go back to soggy salad and ghosted berries. Start with one drawer this week, adjust vents by feel, and wash towels with the tea cloths. Every minute saved on prep is a day gained on the plate. Which item in your fridge will you trial first with the dry-and-breathe method, and how will you tweak it to suit your routine?
Did you like it?4.5/5 (29)